1st time making a metal sculpture...ok, 1st time making ANY sculpture. In the process, I gained aching hands and mucho respect for anyone who works with metal. It all started when M. decided to finally remove a mud-covered rope that was tied onto our seawall (yup, it's been there all this time). At the other end of that rope, we found a flat crushed derelict crabtrap that had been abandoned for who-knows-how-many years. M. hosed off the excess muck and left it to dry in the yard. I don't know how I convinced him to let me use it for a "project", but after a couple hours, we had our 1st DIY salvage art piece. If I can make a manatee wall hanging out of a derelict crabtrap, anyone can. Here's how:
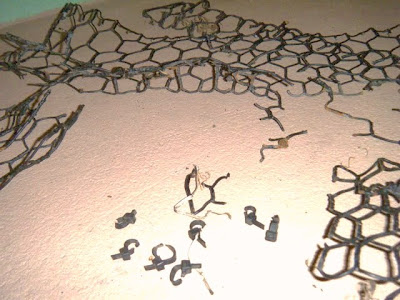
1. CLEAN: Using pliers, I removed the excess debris and heavily damaged parts from the crabtrap.
2. PLAN: I stared at the crabtrap for a LONG time until inspiration hit me (ow!). Using sharpie marker on newspaper, I sketched out a simple manatee silhouette. I put the template under the crabtrap to trace the outline onto the metal.

3. SCULPT: Using pliers, I cut out a rough shape, following the manatee outline as best I could. Then, using jute rope (found at Michael's craft store), I traced the manatee outline more carefully. I tied rope knots along the way to keep the rope in place [while singing connect-the-dots-la-la-la].

4.FINISH: I used a round nose plier to bend down the pointy metal ends safely and coated the whole manatee with leftover silver spraypaint. My sis encouraged me to add an eyeball, so I sewed on an old button. Finally, I reused the line rope that once tethered it to our seawallL: I snipped it and knotted it to become a hanger so it is ready to be hung up. Voila: salvage art.
 This week, my awesome sis took our manatee over to the Hillsborough County Fair where it will be displayed Nov 4th - Nov 8th, as part of the 2009 Recycled Yard Art contest. We got our fingers crossed, but are just as happy to be participating.P.S. Safety 1st: Despite using non-slip gloves and a foam-handled pliers set, my hand were aching. I took breaks often to let my hands rest.